
How To: Chinoiserie Easter Eggs

It's that time of year again! We've been waiting for spring for what seems like ages. And now that it's finally here, it's time to decorate for Easter. Many of us grew up dying Easter eggs, and if you're like me, it's now something you do with your kids. I have always admired Pysanky eggs. But if you've ever tried them or learned about how they're made, it would send your mind into a tailspin! I'm going to take it down a notch with these simple decoupage eggs that you can do at home, with or without your kids.
Supplies:
Favorite Paper napkins (2 ply or 3 ply)
Mod Podge, or Elmer's Glue
Eggs (wooden, plastic, or any)
Scissors
Paint brush

Step One:
Cut out whatever shapes you want to glue on the egg. The smaller the pieces the better so they don't crease on the curvature of the egg. You will end up gluing many different shapes and piece them together to make new and fun patterns. If you have 3-ply napkins, remove the bottom layer of tissue. And if you have 2-ply napkins, keep them intact. I experiemented with just one sheet from the napkins and it was too fragile and ripped upon application.

Step Two:
Paint the Mod Podge, or Elmer's Glue alternatively, on the egg (Gluing directly onto the napkin and then placing the paper on the egg was too messy). Place the pre cut shapes on top of the egg and assemble them into your own new pattern. If you are using white eggs, you can have negative space if you'd like. If you are in a pinch and using colored, plastic eggs, you may want to overlap the pieces to cover it. The best part is that anything goes and you should have fun and be creative!

Step Three:
Try doing a couple of eggs at one time, allowing one to dry while you're working on the other. If you are painting your glue on top of the design after you have placed it on the egg, it may take longer to dry. But the texture will be fabulous!

Step Four:
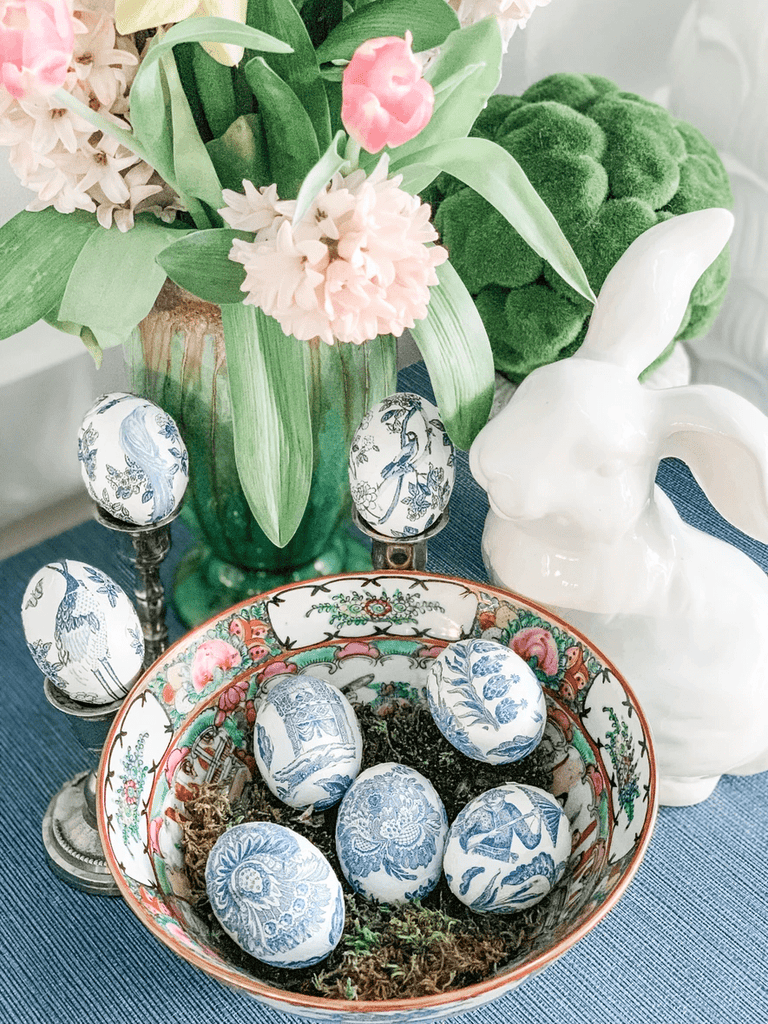
After your eggs have dried, consider adding a small loop of ribbon to the top. This will give you the opportunity to hang them from an indoor branch or tree display. Or simply display them in a bowl with your favorite Easter and spring decor.

I hope you enjoyed this fun tutorial. Have a Happy Easter!
Leave a comment